
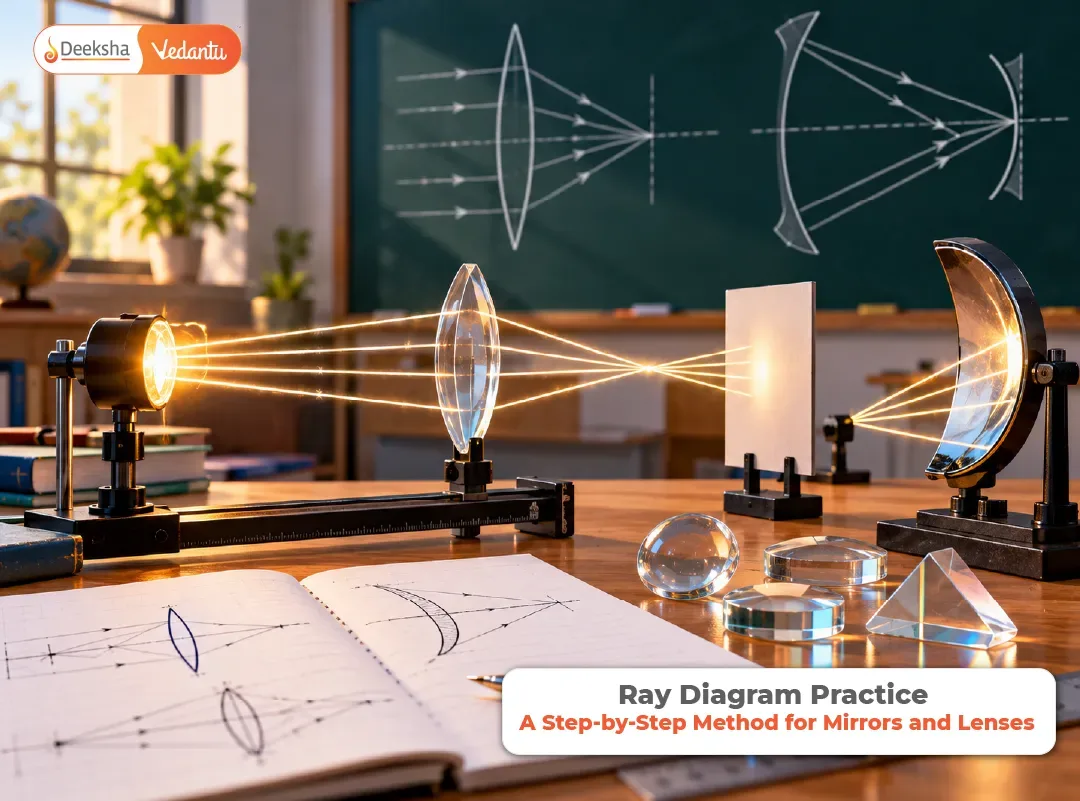
A ray diagram is the one place in Class 10 Science where the answer is a drawing, and examiners mark it like one. A missing arrow, a solid line where a dotted one belongs, or an image in the wrong position can cost marks even when you understand the theory. The good news is that ray diagrams follow a small set of fixed rules, and the only way to make them automatic is deliberate practice in a sensible order.
This article gives you that order. It covers mirrors first, then lenses, with a drill for each stage and the image tables you need to check your work. If you want the full chapter explained before you start drawing, read the Class 10 light notes or our guide to spherical mirrors, then return here with a ruler and a sharp pencil.
The Rays You Should Be Able to Draw With Your Eyes Closed
Every ray diagram is built from two or three standard rays, chosen because their paths after reflection or refraction are known without any calculation. Learn these first, and say them aloud while you draw.
For a concave mirror:
- A ray parallel to the principal axis passes through the principal focus F after reflection.
- A ray passing through F becomes parallel to the principal axis after reflection.
- A ray passing through the centre of curvature C returns along the same path, because it strikes the mirror along the normal.
- A ray falling on the pole P is reflected at an equal angle on the other side of the principal axis.
You need only two of these to locate an image, because two reflected rays are enough to meet at a point. A third ray is a useful check. If your third ray does not pass through the point where the first two meet, something is wrong with your construction, and it is better to find that out in practice than in the exam.
First Drill: One Concave Mirror, Six Object Positions
The concave mirror is the best place to begin ray diagram practice for Class 10, because moving the object across six positions teaches you every kind of image the chapter asks about. Draw the same mirror six times on six separate sketches and move only the object.
Here is what you should find. Use it to check each drawing once it is finished, not to avoid drawing.
| Object position | Image position | Nature of image | Size |
|---|---|---|---|
At infinity | At F | Real and inverted | Highly diminished, point-sized |
Beyond C | Between F and C | Real and inverted | Diminished |
At C | At C | Real and inverted | Same size as the object |
Between C and F | Beyond C | Real and inverted | Enlarged |
At F | At infinity | Real and inverted | Highly enlarged |
Between F and P | Behind the mirror | Virtual and erect | Enlarged |
The last row is where most students lose marks. When the object is between F and P, the reflected rays diverge. They never meet in front of the mirror. You extend them backwards with dotted lines to find where they appear to come from. The image you draw is on the far side of the mirror, upright, and larger than the object. Our walkthrough of ray diagrams with all cases and examples shows each of these six drawings neatly, and the article on concave vs convex mirrors in real life explains why mirrors behave this way.
Convex Mirrors: Easier to Remember, Easy to Draw Wrongly
A convex mirror always gives one kind of image. Wherever you place the object in front of it, the image is virtual, erect and diminished, and it forms behind the mirror between P and F. That makes it the easiest mirror to remember and one of the easiest to draw badly.
The rays follow the same logic as before, with one change: the reflected rays diverge, so you trace them backwards.
- A ray parallel to the principal axis reflects as if it were coming from the focus behind the mirror. Draw the reflected ray going away from the mirror, and extend it backwards with a dotted line to F.
- A ray directed towards F reflects parallel to the principal axis.
- A ray directed towards C returns along its own path.
Lenses: The Same Thinking With Three New Rays
Lenses refract light instead of reflecting it, so the rays pass through the lens and the image lies on the other side for real images. The skeleton changes too: the lens sits on the principal axis, its centre is the optical centre O, and each side has its own focus. For a convex lens, mark F1, 2F1 on the object side and F2, 2F2 on the other side.
The standard rays for a convex lens are:
- A ray parallel to the principal axis refracts and passes through the focus F2 on the other side.
- A ray passing through the optical centre goes straight through without any deviation.
- A ray passing through the focus F1 on the object side becomes parallel to the principal axis after refraction.
For a concave lens the rays diverge after refraction. A ray parallel to the axis bends so that it appears to come from the focus on the object side, and you show that with a dotted extension. The ray through the optical centre still goes straight. The image is always virtual, erect and diminished, and it forms between the lens and the focus on the same side as the object, similar to the convex mirror.
The convex lens image table follows the same pattern as the concave mirror, with 2F1 playing the role of C:
| Object position | Image position | Nature of image | Size |
|---|---|---|---|
At infinity | At F2 | Real and inverted | Highly diminished, point-sized |
Beyond 2F1 | Between F2 and 2F2 | Real and inverted | Diminished |
At 2F1 | At 2F2 | Real and inverted | Same size as the object |
Between F1 and 2F1 | Beyond 2F2 | Real and inverted | Enlarged |
At F1 | At infinity | Real and inverted | Highly enlarged |
Between F1 and O | On the same side as the object | Virtual and erect | Enlarged |
A Practice Sequence That Builds Speed and Accuracy
Ray diagram practice for Class 10 works best in short, repeated sessions rather than one long evening. Use this order, and keep every drawing on plain paper with a ruler.
| Session | What to draw | Aim |
|---|---|---|
1 | Concave mirror, the three standard rays on a single object | Draw all rays correctly, each in under 3 minutes |
2 | Concave mirror, all six object positions | Match every drawing to the table without looking |
3 | Convex mirror, three different object distances | Use dotted lines for every part behind the mirror |
4 | Convex lens, all six object positions | Place 2F1 and 2F2 correctly every time |
5 | Concave lens, two object positions | Show the virtual image and its dotted construction |
6 | A mixed set of five diagrams, drawn from memory | Finish all five in 15 minutes |
Repeat the whole cycle once more before the exam. The second round is much faster than the first, and that is the point. The light class 10 quick revision notes are useful for a final check of definitions, and the light reflection important questions page gives you the types that tend to be set as five-mark questions.
Presentation Habits That Protect Your Marks
A diagram can be correct in principle and still lose marks for how it is drawn. Build these habits into every practice session so they are automatic in the exam.
- Use a ruler and a sharp pencil. Straight rays are easier to read and easier to mark.
- Put an arrow on every ray. The direction of light is part of the answer, and a ray with no arrow is incomplete.
- Dotted lines for anything virtual. Extended rays and virtual images behind a mirror, or on the object side of a lens, are drawn dotted, never solid.
- Label everything the question mentions. Mark P, F, C, the object and the image for mirrors, and O, F1, F2, 2F1, 2F2 for lenses.
- Draw the object and image as arrows. An upright arrow for the object, and an arrow, upright or inverted, for the image, so the nature of the image is visible.
- Add the one-line description. After the diagram, write position, nature and size in a single line.
Self-check each diagram before moving on. Do the two rays you used meet at the image point? Does a third ray pass through the same point? Is the image on the side the table says it should be? If any answer is no, find the error before drawing the next one. The article on ray diagram mistakes in mirrors and lenses lists the most common slips students make, which is worth reading once you have drawn a few diagrams yourself.
Frequently Asked Questions
Q1. How Many Ray Diagrams Should I Practise Before the Exam?
Aim to draw each standard case at least twice: the six concave mirror positions, three convex mirror positions, the six convex lens positions and two concave lens positions. That is about 17 distinct diagrams, and drawing each twice is a realistic target for two weeks of short sessions. Redo any diagram that you got wrong until it comes out right unaided.
Q2. How Do I Decide Between a Solid and a Dotted Line?
A solid line shows rays that light actually travels along. A dotted line shows a path the light only appears to follow, such as the backward extension of a reflected ray behind a mirror. Anything virtual is dotted. The incident ray and the real reflected or refracted rays are solid.
Q3. Do I Need All Three Rays in Every Diagram?
Two rays are enough to locate the image, because two lines meet at one point. Using a third ray is a good check and is sometimes asked for in questions that specify how many rays to draw. In a timed exam, choose the two rays that are easiest to draw for the given case.
Q4. Why Is the Image Real for Some Object Positions and Virtual for Others?
For a concave mirror or a convex lens, the reflected or refracted rays meet when the object is beyond the focus, giving a real image. When the object is between the focus and the mirror or lens, the rays diverge and only appear to meet when traced backwards, so the image is virtual and erect.
Q5. Is the Ray Diagram Method the Same for CBSE and Karnataka SSLC?
The physics and the standard rays are the same for both boards, so the method in this guide works for either. Practise with your own board’s sample papers to get used to how ray-diagram questions are worded.
Conclusion: Draw It Until Your Hand Knows It
Ray diagrams are a skill of the hand as much as of the head. Learn the standard rays, draw the concave mirror in all six positions, move on to the convex mirror and the lenses, and keep your presentation habits consistent. A few short sessions on plain paper, repeated twice, will make these diagrams feel routine. The marks that remain after that come down to small things: an arrow, a dotted line, a label.











Get Social